It comes out.
User Tag List
Results 21 to 23 of 23
Thread: Broken tenon
-
10-20-2015, 06:46 AM #21Wow, Someone Knows Me

- Join Date
- Feb 2015
- Posts
- 478
- Ring Gauge
- 156
- Mentioned
- 42 Post(s)
- Tagged
- 0 Thread(s)
-
10-20-2015, 08:16 AM #22Ruler Of The Galaxy

- First Name
- Emperor
- Join Date
- Feb 2015
- Location
- Gamma Quadrant, Sector 4
- Posts
- 3,008
- Ring Gauge
- 1292
- Mentioned
- 92 Post(s)
- Tagged
- 0 Thread(s)
It looks to me like the corrosion burst the wood. Plan 'A' for me would be as follows...
- pull out the insert and clean out all the corrosion from the shank bore and off the aluminum
- see if the burst shank starts to close up just squeezing with fingers. If not, the wood is going to have to be moistened
- Assuming it needed moistening I would stuff a wick of cloth into the shank and keep that damp for a day or two then see how things move
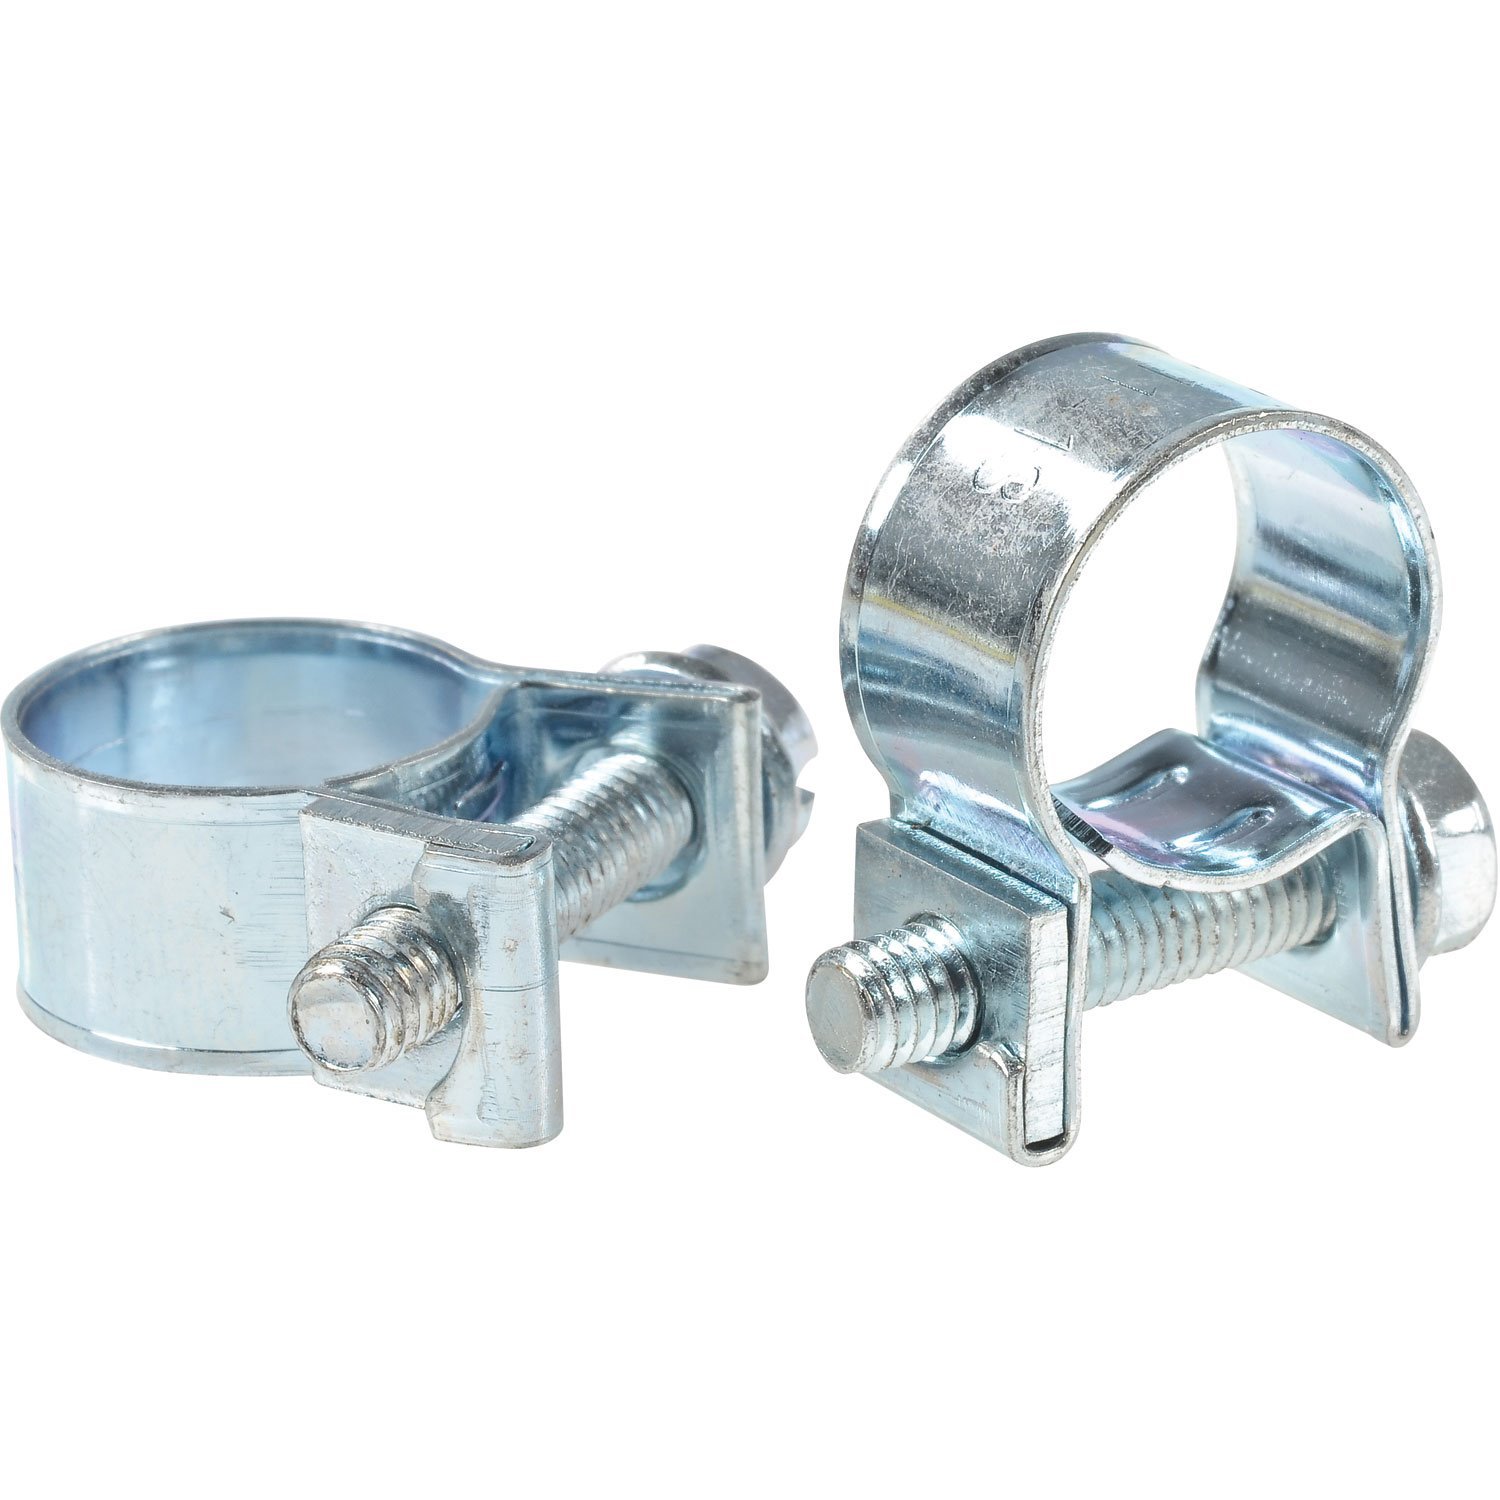
- Once the wood was a bit pliable I'd put a few non-marring hose clamps around the shank and slowly tighten them up until the gap was mostly closed
- If necessary, I'd drill or whittle or grind out the wood until the insert would slip in
- Once the wood dried back out in its new, mostly closed up position I'd embed the insert into the wood with epoxy and tighten the clamps the last little bit so some epoxy flowed into the crack and glued the wood back together as everything closed up. I'd probably use JB weld simply because we have that here. That would be the tricky part as you'd have to be sure the airway didn't get plugged but ideally you'd also want any voids completely filled with epoxy. You also NEED to get that insert in there straight, which may mean you'd have to screw it back on the tenon and temporarily reassemble the tenon to the stem to use as a guide in setting the insert, taking care not to slop the epoxy into the joint and glue everything together permanently. Yes, this would be the tricky part More so if the insert has a lot of room to wiggle after all the prep work - less so if it still fits in the hole decently.
You're in luck because the shank is finished in black where the crack is. Any epoxy showing in the crack could be sanded out and refinished to match and you'd probably be none the wiser it was repaired once the job was done. Then of course the only remaining part of the fix would be to saw that stinger off just past the thread and reattach the screw tenon to the bit in the proper orientation.
Here's a pic of the clamps I'm thinking about. They might need to be lined with electrical tape or masking tape for a little extra protection.
 Never attribute to malice that which is adequately explained by stupidity.
-
Post Thanks / Like - 2 Thanks, 1 Likes
-
10-20-2015, 12:09 PM #23Wow, Someone Knows Me

- Join Date
- Feb 2015
- Posts
- 478
- Ring Gauge
- 156
- Mentioned
- 42 Post(s)
- Tagged
- 0 Thread(s)


 Reply With Quote

